
Last updated: September 25, 2026
Now available on Microsoft Store
Get SSRS Reports Migration Wizard from Microsoft Store
Install easily and securely through Microsoft’s official channel.
Order a License Key #
Purchase a license key to unlock the full SSRS Reports Migration Wizard experience. The product supports migrations between supported SSRS Native mode and Power BI Report Server environments, including reports, folders, datasets, data sources, linked reports, subscriptions, and selected security settings.
Download the Installer #
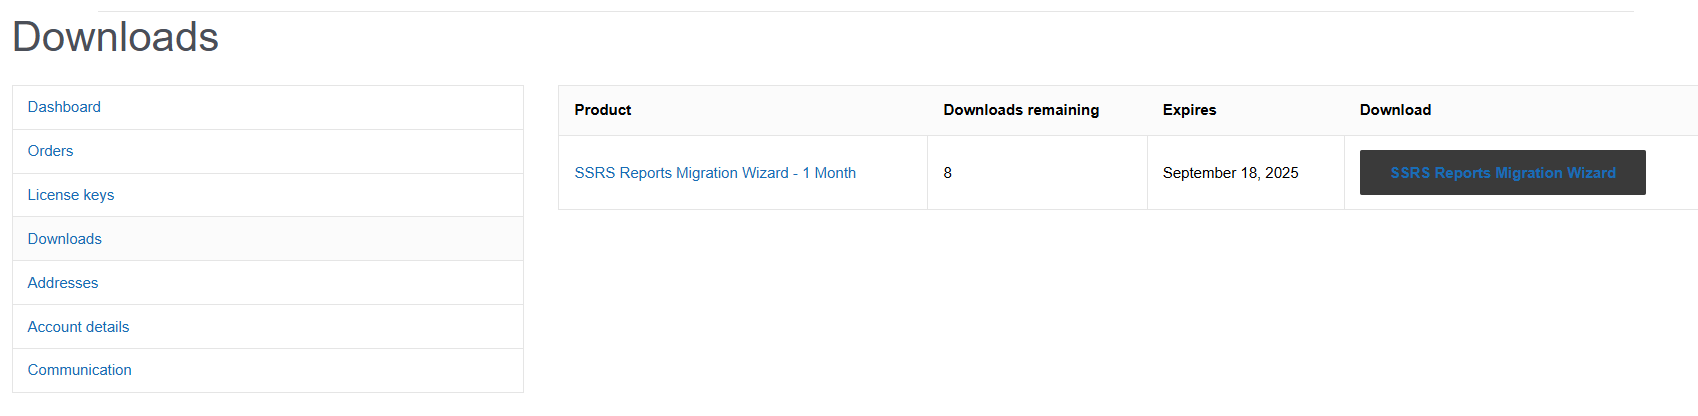
After purchasing, sign in to your AzureOps account and open Downloads. Download the installer ZIP, extract it locally, and run the installer. You can also use the download link from your purchase email.
Activate the License Key #
- Open
SSRS Report Migration Wizard Installer.exe. - Enter the license key received by email or from My Account → License Keys.
- Click Activate Product.
- Wait for the activation confirmation.

Online activation: The product contacts the licensing service once for online activation. For disconnected environments, use the offline activation process described in Security & Compliance.
Choose an Installation Target #
The installer can deploy the wizard for use with SQL Server Management Studio, Visual Studio, or as a Standalone application.
- Launch
SSRS Report Migration Wizard Installer.exe. - Click Next.
- Select the required installation target.
- Click Install and wait for completion.

Manual Installation from Visual Studio Marketplace #
Use the AzureOps installer when possible. Manual installation is useful when you need to install the VSIX package directly.
Visual Studio 2017/2019 #
- Open Visual Studio 2017 or 2019.
- Select Tools → Extensions and Updates.
- Search for
SSRS Reports Migration Wizard. - Click Download and restart Visual Studio when prompted.

After installation, open Tools → SSRS Reports Migration Wizard.

Visual Studio 2022/2026 #
- Open Visual Studio 2022 or 2026.
- Select Extensions → Manage Extensions.
- Search for
SSRS Reports Migration Wizard. - Click Download and restart Visual Studio.

After installation, open Tools → SSRS Reports Migration Wizard.

SQL Server Management Studio 18 and Later #
For SSMS versions where direct extension installation is not available, install the VSIX package manually.
- Download the SSRS Reports Migration Wizard VSIX from the Visual Studio Marketplace or your AzureOps download package.
- Extract
SSRS.Reports.Migration.Wizard.vsixwith 7-Zip into a folder namedSSRS Reports Migration Wizard. - Copy that folder into the appropriate SSMS extensions directory, for example:
C:\Program Files (x86)\Microsoft SQL Server Management Studio 18\Common7\IDE\Extensions - Restart SSMS.
- Open Tools → SSRS Reports Migration Wizard.

For SSMS 19, 20, 21, or 22, use the equivalent version-specific installation directory. Administrator permissions may be required when copying files into Program Files.
Standalone Installation #
- Extract the installer package or VSIX contents into a folder named
SSRS Reports Migration Wizard. - Place the folder somewhere you have execute permissions.
- Double-click
SSRS.Reports.Migration.Wizard.exe.
Deactivate the License Key #
Deactivate a license only when you intentionally want to release it from the current machine. Open SSRS Report Migration Wizard Installer.exe and click Deactivate Product.
Important: Deactivation may be irreversible for the current license key. Contact AzureOps support if you are unsure about the licensing consequences.

After Installation #
- Confirm that the wizard launches from your selected host application.
- Review Prerequisites before connecting to source and target report servers.
- Follow Getting Started for the first migration.
- For command-line execution, see Automation (Preview).